Double Exposure
Double exposure is a Photoshop/Photography technique where two images are blended together (typically a human/animal and a landscape image).
I utilised Photoshop tools such as,
- Quick Selection Tool
- Layer Mask
- Colour Balance
- Clone Stamp Tool
- Curves
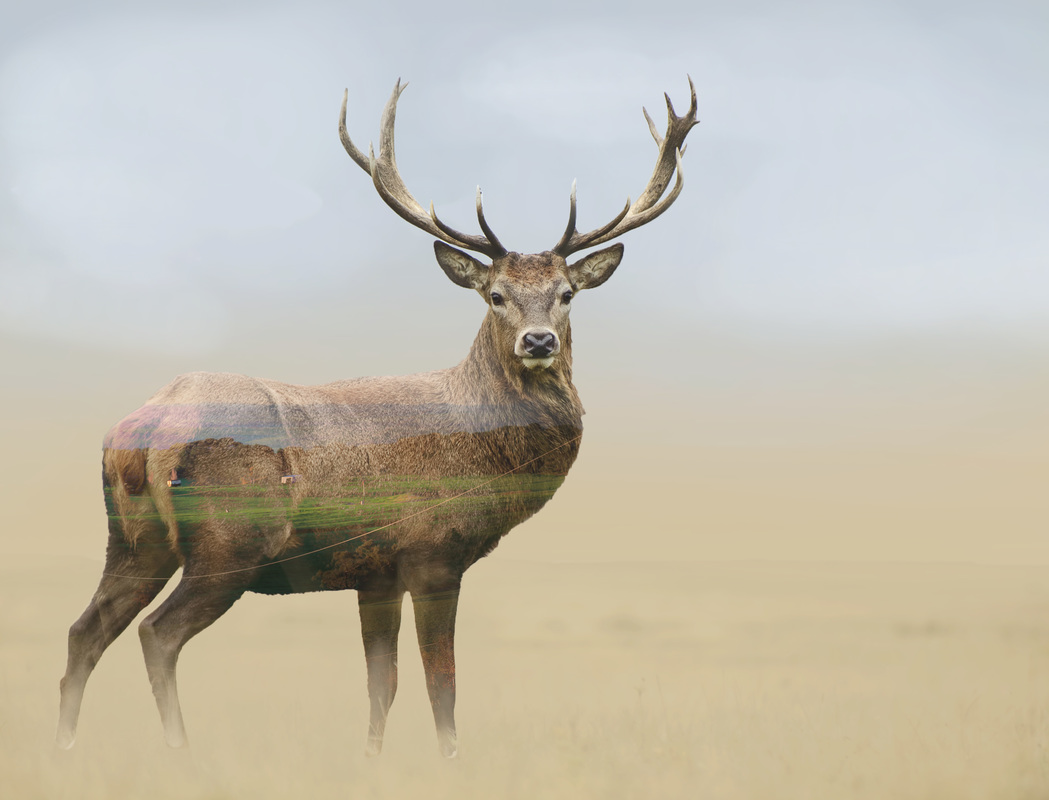
These tools were blended and arranged to create the three Double Exposure images below.
I utilised Photoshop tools such as,
- Quick Selection Tool
- Layer Mask
- Colour Balance
- Clone Stamp Tool
- Curves
These tools were blended and arranged to create the three Double Exposure images below.

|
This Red Panda and forest double exposure image is my absolute favourite. I love the depth of colour within the deep red of the panda. The continuation of the texture from the face, into the ground of the landscape looks really effective.
I had to spend a lot of time on Photoshop correcting the fur edges to get them perfect and natural looking, this involved the paint and eraser tool with a lot of patience. |

In order to create a double exposure image
- Open Photoshop
- Open up the animal/human image as well as the landscape image
- Working on the animal image, create a new layer and make the layer one solid colour (Ctrl and Backspace)
- Hold and drop the landscape image into the animal image and scale it (Ctrl + T) to the desired placement over the animal. Make sure it is exactly where you want it for when it is finished.
- Turn down the opacity of the landscape layer to check how the animal will look with the landscape over the top (make sure the landscape layer is over the top of the animal layer and the blank layer is on the bottom.)
- With the opacity still down, use the quick selection tool to work on the animal layer and select the animal shape and not the background.
- Click on the landscape layer and press the "add a mask" button and turn the opacity back up to full.
- Press the drop box button which says "Normal" and change it to "Lighten"
- Now use all other the tools to fix rough edges, adjust curves and colours. If there is a section which is too covered by the landscape use the eraser tool on soft, to erase it and reveal the animal image.
